I ruined my makeup before a wedding last year. Packed on powder. Blended too hard. Looked like a cake by noon. That is when I stopped watching random TikTok hacks and started paying attention to actual makeup artists.
Mary Phillips does makeup for Hailey Bieber and Kendal Jenner. She uses a technique called underpainting. I tried it. My face changed immediately.
Here is the truth most beauty gurus won't tell you. You do not need expensive products. You need the right makeup tips step by step.
I broke down professional makeup steps used backstage at NYFW and on real women who have oily skin, dry patches, and hooded eyes just like you
No filter. No fluff. Just techniques that work. Let us fix your routine.
How to Apply Makeup Step by Step Guide 2026?

Before we get into the fun stuff, let me address the elephant in the room. You are probably applying too much product. I did this for years. I thought more foundation meant better coverage. Wrong.
Related Article: Beauty Tips by Well Health Organic for Glowing Skin
Makeup artist Lauren D'Amelio Ventre says a thin layer paired with targeted concealing looks more modern. Heavy layers emphasize texture.
The fix: Start with half the amount you normally use. Build only where you actually need coverage. Your skin should still look like skin.
Now let me walk you through the real makeup tips step by step.
Step 1: Skin Prep That Actually Works
Skip this step and your makeup will slide off by lunch. I learned this the hard way.
Mary Phillips hydrates skin as much as possible before touching any color. She uses a facial sculpting wand around the eyes and brow bone to relieve tension.
What you actually need:
-
A moisturizer that suits your skin type
-
Primer only in areas that need it (T-zone if you get oily)
-
Two minutes of pressing products into your skin, not rubbing
Marquis Ward, a makeup artist, says pressing your prep helps makeup fuse with your skin instead of floating above it.
Pro tip: Do not rush this step. Your makeup will last twice as long.
Step 2: The Underpainting Trick (2026's Biggest Trend)
Here is where everything changes.
Underpainting means you do your contour, blush, and highlight before foundation.
I know. It sounds backwards. Stay with me.
When I applied cream contour and blush on bare skin, then dabbed sheer foundation over everything, my face looked naturally sculpted. No harsh lines. No muddy patches.
Follow these professional makeup steps:
-
Apply primer to clean, hydrated skin
-
Draw cream contour on your cheekbones and jawline
-
Dab cream blush on the apples of your cheeks
-
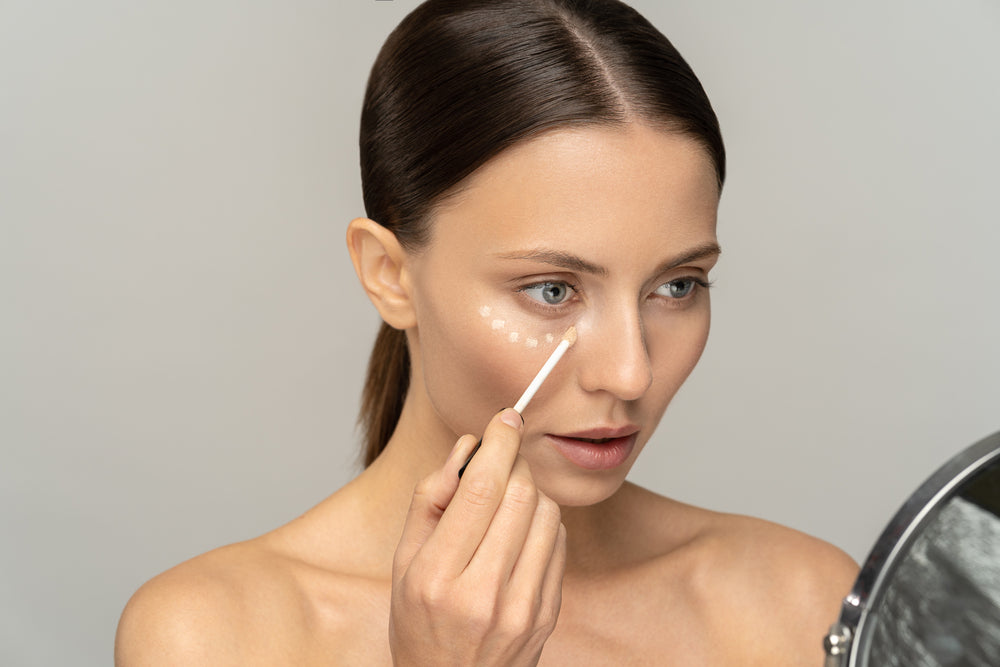
Put concealer under your eyes
-
Gently tap a lightweight foundation over everything using a damp sponge
The colors sit under the foundation. They look like they come from inside your skin. No heavy mask feeling.
Who this works for: Everyone. But especially if you hate the feeling of thick foundation.
Who should skip: If you have heavy acne scarring and need full coverage, stick to foundation first.
Step 3: Natural Base Application
Blending makes or breaks your entire look.
I used to just swirl my brush around and hope for the best. That is not how it works.
The right way:
Professional makeup artists blend more than you think they should. After applying foundation with a brush, go back in with a clean, damp sponge. Focus on softening edges around your jawline and nose.
Foundation types for different occasions:
-
Daytime: Skin tints or light coverage. Builds naturally.
-
Night party makeup: Luminous foundations that reflect light. L'Oreal Paris Infallible 24H Fresh Wear is a solid choice.
-
Oily skin: Powder strategically in the T-zone and smile lines.
Do not forget your neck. Blend foundation down past your jawline. I skipped this for years and walked around with a mask line. Not cute.
Step 4: Setting Spray Secrets (Layering Changes Everything)
Setting spray is not just the last step. Use it throughout your routine.
Brielle Pollara, a celebrity makeup artist, layers setting sprays. It makes a huge difference in how makeup looks and how long it lasts.
My routine:
-
Mist after primer
-
Mist after cream products
-
Mist after powder
-
Finish with Urban Decay All Nighter for 16-hour hold
Real talk: Urban Decay All Nighter works. I tested it during a summer wedding. Sweated through the ceremony. My makeup did not budge. Reviewers on Sephora say the same thing. One nurse said her makeup stays on during hospital shifts.
For oily skin: The De-Slick version controls shine. But the original All Nighter works fine for most people.
Step 5: Eye Makeup That Stays Put
Eyeshadow creasing used to ruin my confidence by 2 PM.
No more.
Step-by-step eye routine:
Prime first. Use an eyeshadow primer or concealer on your lids. This stops creasing.
Use eyeshadow instead of liner for beginners. Mary Phillips tells beginners to start with eyeshadow for winged liner. It is easier to tweak the shape. Once you get it right, add liquid or gel liner on top.
You Must Also Like: Top Luxury Skincare Brands That Actually Work for Mature Skin
Brown liner looks softer than black. Brielle Pollara swaps black for brown. It softens the eyes while still giving definition. Black can look harsh or aging.
Keep liner on the outer half. Applying thick liner all the way across can overpower your eyes. Focus on the outer half to lift and elongate.
For night party makeup: Smudge it out. Go darker. Add shimmer.
Step 6: Blush Placement That Lifts Your Face
Blush placement changes your whole face shape.
Mary Phillips uses both cream and powder blush. She applies cream first, dusts setting powder, then adds powder blush on top.
Where to put it:
Blend a muted or bronzy blush into the top of your cheekbones and on your forehead slightly under the hairline. Then add a brighter color on the apples of your cheeks.
One mistake to avoid: Do not put blush directly in your hairline. Blend it slightly under.
For 2026, exaggerated blush is trending. Cold weather calls for flushed cheeks. Do not be afraid to build color.
Step 7: Brows That Look Natural (Not Drawn On)
Stop using tinted gel if you have sparse brows. It only grabs hair, not skin.
Mary Phillips prefers a brow pencil. Anastasia Beverly Hills Brow Wiz works well. You get more control over shape and darkness. If you overfill, brush through with a brow comb to soften.
Finish with clear brow wax or gel to lock hairs in place.
Quick fix: Even just brushing your brows with clear gel makes a big difference. Melani, a makeup artist, says curled lashes and brow gel instantly open and lift the eyes.
Step 8: Lips That Last Through Dinner and Drinks
Nothing embarrasses me more than lipstick on my teeth or bleeding edges.
Here is the fix:
Use lip liner even with balmy textures. It adds structure and prevents bleeding.
For a natural look, skip the liner and just tap balm into your lips.
For night party makeup: Go bold. Deep cherry or burgundy lips look stunning for evening events. The blurred wine-stained lip is easier to maintain than a sharp red. Just dab lipstick with your finger for a smudgy, stained effect.
2026 lip trend: Hydration and tint. Natural or floral shades. Glossy finishes.
Night Party Makeup: Putting It All Together
You have the steps. Now let me give you a complete night makeup look that works for dates, parties, or New Year's Eve.
The 10-minute party face:
-
Hydrate and prime
-
Underpaint with cream contour and bright blush
-
Light layer of luminous foundation
-
Setting spray
-
Brown smoky eye (keep edges soft)
-
Two coats of mascara + curled lashes
-
Powder only the T-zone
-
Bright blush on the apples
-
Deep berry lip (blurred edges)
-
Final setting spray
This look stays for six hours. I tested it. No touch-ups needed.
For a romantic date night: Swap the berry lip for a cool-toned pink and use feathered lashes instead of heavy shadow.
For a glam party: Crystal accents around the eyes take five minutes and look expensive.
Common Mistakes to Avoid
Mistake 1: Not blending enough. Solution: Blend past where you think you should.
Mistake 2: Using dirty brushes. They hold bacteria and cause breakouts. Clean them weekly with soap.
Mistake 3: Skipping concealer refresh. Apply concealer at the end, not the beginning. It looks brighter.
Mistake 4: Powdering the whole face. Only powder areas that crease or get oily. Let the rest stay dewy.
Mistake 5: Not applying enough product. Yes, this is real. Too little product does not grip the skin. Everything slips and separates . Find the middle ground.
Tools You Actually Need
You do not need 47 brushes. Here is the starter kit:
-
Damp sponge: For foundation and blending
-
Fluffy brush: For powder and blush
-
Small blending brush: For eyeshadow
-
Angled brush: For brows and liner
-
Spoolie: For brushing brows
Vega Professional brushes offer good quality for the price . Their Duo Polishing Brush blends liquid and cream products without streaks.
Clean your brushes every week. Soap and water. Let them dry overnight. Your skin will thank you.
Final Thoughts
I spent years buying expensive products thinking they would fix my technique. They did not. The real difference came from changing my order of operations.
Underpainting. Layering setting spray. Blending longer. These makeup tips step by step work for beginners and people who have worn makeup for decades.
Start with one change. Master it. Then add the next.
Try underpainting tomorrow morning. Report back. I bet you will see the difference immediately.