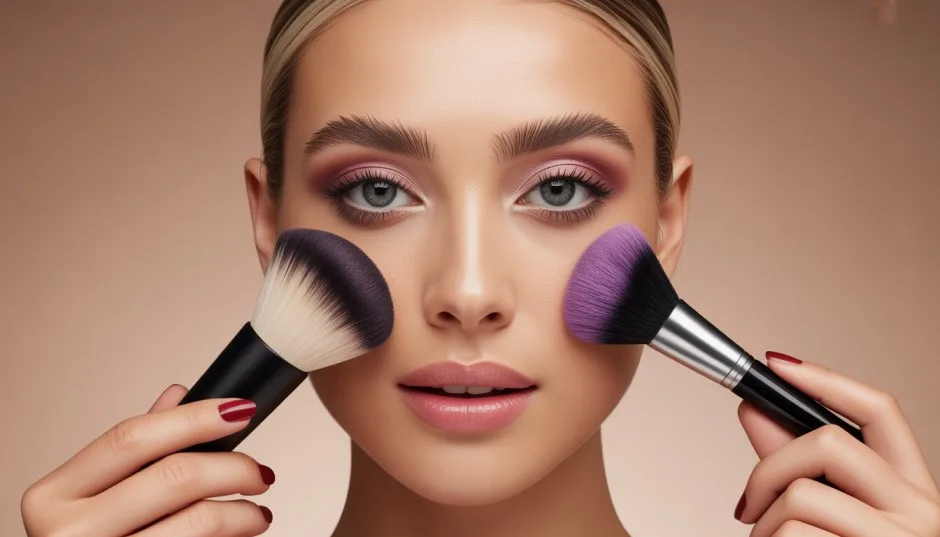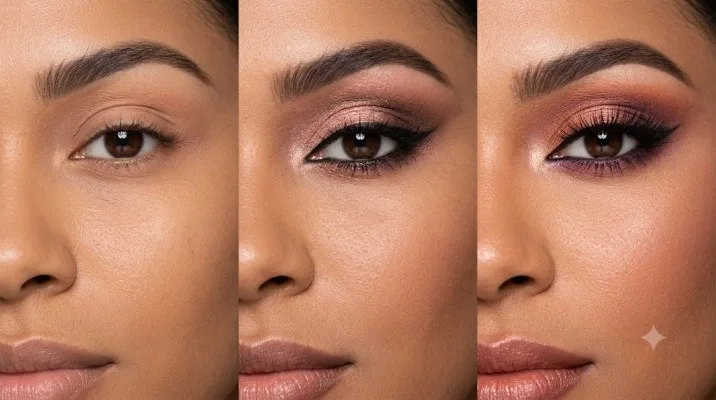
Mastering eye makeup step by step changed how I get ready in the morning. It used to take me thirty minutes of trial and error. Now I finish in under ten. The difference wasn't talent. It was learning the right order of steps.
Most beginners struggle because they skip prep or use the wrong tools. I've been there. Blending with fingers, wondering why everything looked muddy. Then I learned a simple system.
This guide shares that system. You'll learn natural looks, smokey eyes, and the small tricks that make a big difference.
How to Apply Eye Makeup Step by Step with Pictures?
Why Order Matters More Than Products?
You don't need expensive makeup. You need the right technique. A 200 eyeshadow can look stunning with proper blending. A 2,000 palette looks terrible when applied wrong.
Read Also: First Day of School Nails Acrylic: Cute Ideas And Designs
The beginner step by step natural eye makeup process follows a simple logic. You build from light to dark. You blend as you go. You fix mistakes at the end, not during.
Professional makeup artists follow this order for a reason. Each layer sits on top of the previous one. Skipping steps creates mess.
Step 1: Prep Your Eyelids
Start with clean, dry eyelids. Oil breaks down eyeshadow. It causes creasing within hours.
Wipe your lids with a gentle cleanser. Pat dry. Don't rub. Rubbing irritates the delicate skin around your eyes.
Apply an eyeshadow primer. This step matters more than most people realize. Primer creates a base that holds color. Without it, shadows fade and crease. With it, your look stays fresh for eight hours or more.
Don't have primer? A tiny amount of concealer works as a substitute. Set it with translucent powder. This trick works in a pinch.
Step 2: Create a Base Color
Choose a neutral shade close to your skin tone. Sweep it across your entire lid. This base color helps other shades blend smoothly.
Use a fluffy brush for this step. Flat brushes pack color. Fluffy brushes blend. You need fluffy here.
Why this step? The base color creates a smooth canvas. Darker shades blend into it without harsh edges. This single step prevents the "patchy" look beginners often get.
Step 3: Build Your Transition Shade
Pick a shade slightly darker than your base. Something like a soft brown, warm taupe, or muted peach. Apply it to your crease.
The crease sits between your eyelid and brow bone. Feel for the indentation. That's your target.
Use a small blending brush. Move in small circles. Don't drag the brush. Circular motions blend better.
This transition shade adds depth. It makes your eyes look bigger. It also softens the transition between darker crease colors and your base.
Step 4: Add Depth to the Outer Corner
Now for the darker shade. Choose a medium brown, deep plum, or charcoal. Apply it to the outer corner of your eye.
Use a small, dense brush. Tap off excess product. Press it into the outer V shape. Then blend inward with circular motions.
Start light. You can always add more. Removing excess takes longer than building slowly.
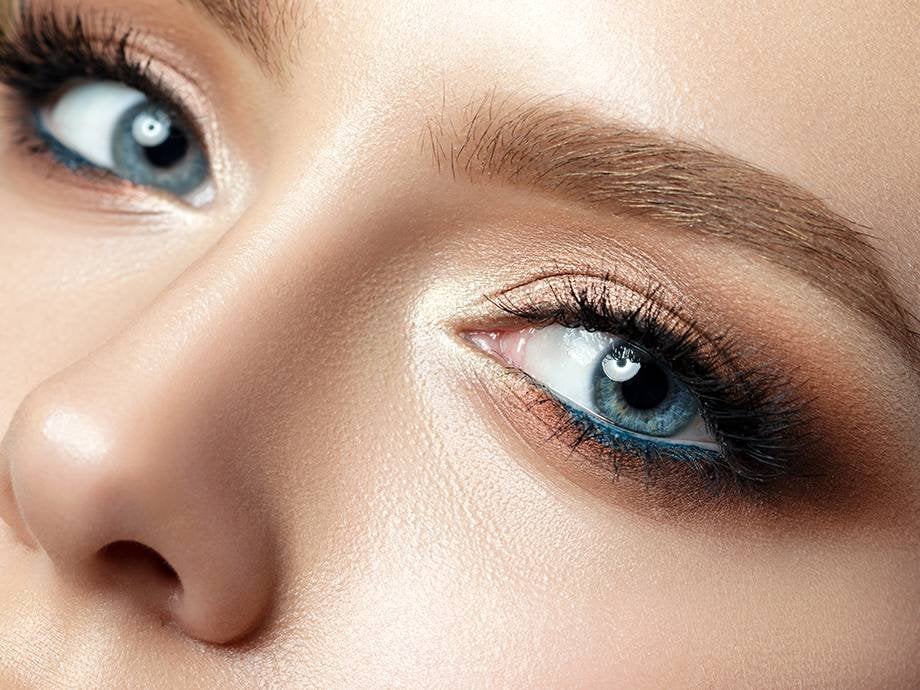
This step creates dimension. It draws attention to the outer corners. It makes your eyes look wider and more awake.
Step 5: Define with Eyeliner
Eyeliner comes next. Beginners often struggle here. Here's a simple approach.
Choose a pencil liner for natural looks. Liquid liners work better for dramatic styles. Pencils are forgiving. You can smudge mistakes.
You Must Also Like: FAE Beauty Lipstick Lip Whip: Is the Airy Matte Formula Worth the Hype?
Draw a thin line along your upper lash line. Start from the inner corner. Move outward. Keep it close to the lashes.
For a softer look, smudge the line slightly with a small brush. This creates a lived-in effect. It doesn't look harsh.
Want a wing? Draw a small upward flick from the outer corner. Connect it back to the lash line. Fill in the triangle. Keep the wing short for daytime.
Step 6: The Lower Lash Line
Many beginners skip the lower lash line. Don't. A little definition here makes a big difference.
Take a small brush. Pick up the transition shade from Step 3. Lightly sweep it along your lower lash line. Focus on the outer half.
This ties the look together. It balances the upper lid. It also makes your eyes look more open.
Avoid heavy liner on the lower lash line for daytime. It can make you look tired. Save that for evening looks.
Step 7: Curl and Coat Your Lashes
Lash curler first. Always. Curling after mascara damages your lashes. It also clumps the product.
Clamp the curler at the base of your lashes. Hold for five seconds. Move to the middle. Hold again. Then the tips.
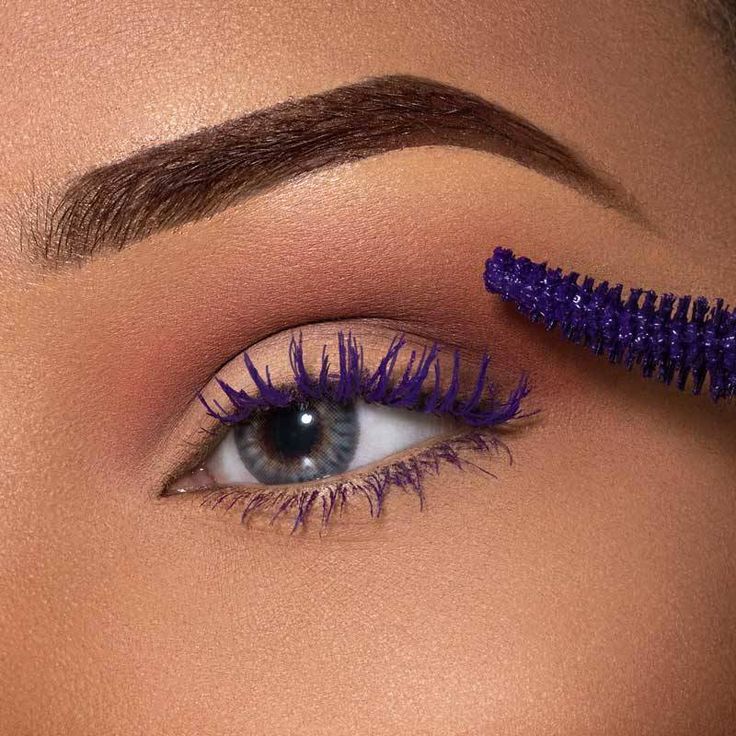
Apply mascara from root to tip. Wiggle the wand at the base. This separates lashes. It prevents clumps.
One coat works for natural looks. Two coats add drama. Wait for the first coat to dry before adding the second.
Step 8: Clean Up and Set
Check your work in natural light. Look for fallout. Eyeshadow sometimes drops onto your cheeks. Wipe it away with a clean brush or cotton swab.
Blend any harsh edges. Run a clean fluffy brush along your crease. This softens transitions.
Set everything with a light dusting of translucent powder. This locks your look in place. It prevents smudging throughout the day.
The Smokey Eyeshadow Tutorial for Beginners
Smokey eyes intimidate beginners. They don't need to. The technique follows the same steps with darker colors.
What changes:
Use a black or dark brown base instead of neutral. Apply it heavily to the lash line. Blend upward and outward. The goal is a gradient. Darkest at the lashes. Lightest at the crease.
Use a pencil liner on both upper and lower lash lines. Smudge it well. The smoky effect comes from soft, blended edges, not sharp lines.
Add a shimmery shade to the center of your lid. This adds dimension. It catches light. It makes the look pop.
Common mistake: Not blending enough. Smokey eyes require patience. Blend, blend, then blend more. Harsh edges ruin the effect.
Tools You Actually Need
You don't need twenty brushes. Four brushes handle most looks:
Fluffy blending brush: For base colors and softening edges.
Small crease brush: For transition shades and precise blending.
Flat shader brush: For packing color onto the lid.
Angled brush: For eyeliner and brow work.
Clean your brushes weekly. Dirty brushes cause breakouts. They also aply color unevenly. Gentle soap and warm water work fine.
Products That Perform Well
You don't need luxury brands. Drugstore options work brilliantly.
Eyeshadow: Look for palettes with matte and shimmer shades. Warm neutrals suit Indian skin tones beautifully.
Primer: Any drugstore primer works. The goal is a base, not a miracle product.
Mascara: Waterproof formulas hold curl better. They're harder to remove but last longer.
Eyeliner: Pencil liners are forgiving for beginners. Kajal works well for Indian looks.
Mistakes to Avoid
Skipping primer: Your look fades within hours. Primer takes thirty seconds. Use it.
Applying too much product: Start light. Build slowly. You can't undo heavy application easily.
Ignoring blending: Harsh lines look unnatural. Blend every edge. A clean brush helps.
Using expired products: Old mascara grows bacteria. Replace it every three months. Eyeshadow lasts longer but check for changes in texture or smell.
Rubbing your eyes: This smudges everything. It also irritates the delicate skin. Train yourself to avoid it.
Quick Daytime Look (5 Minutes)
Short on time? Follow this stripped-down routine.
Step 1: Apply primer. Wait ten seconds.
Step 2: Sweep a neutral shade across your lid.
Step 3: Add a slightly darker shade to your crease. Blend quickly.
Step 4: Line your upper lash line with a pencil. Smudge slightly.
Step 5: Curl lashes. Apply one coat of mascara.
Done. This look works for office, college, or casual outings. It looks polished without effort.
Evening Upgrade (10 Minutes)
Add these steps to the daytime look for evening.
Step 1: Deepen the outer corner with a darker shade.
Step 2: Add shimmer to the center of your lid.
Step 3: Line the lower lash line lightly.
Step 4: Apply a second coat of mascara.
Step 5: Add a small wing if desired.
The transformation takes five extra minutes. The impact is significant.
The Final Thoughts
Practice makes progress. Your first attempts won't look perfect. That's fine. Every makeup artist started somewhere.
Take photos of your looks. Compare them over time. You'll see improvement faster than you expect.
Don't compare yourself to Instagram filters. Those looks use ring lights, editing, and professional products. Real makeup looks different in real life.
Find what works for your eye shape. Hooded eyes need different techniques than round eyes. Almond eyes can wear almost anything. Learn your shape and adapt.
The eye makeup step by step process becomes second nature with practice. Start simple. Master the basics. Then experiment with bolder looks. Your confidence will grow with your skills.